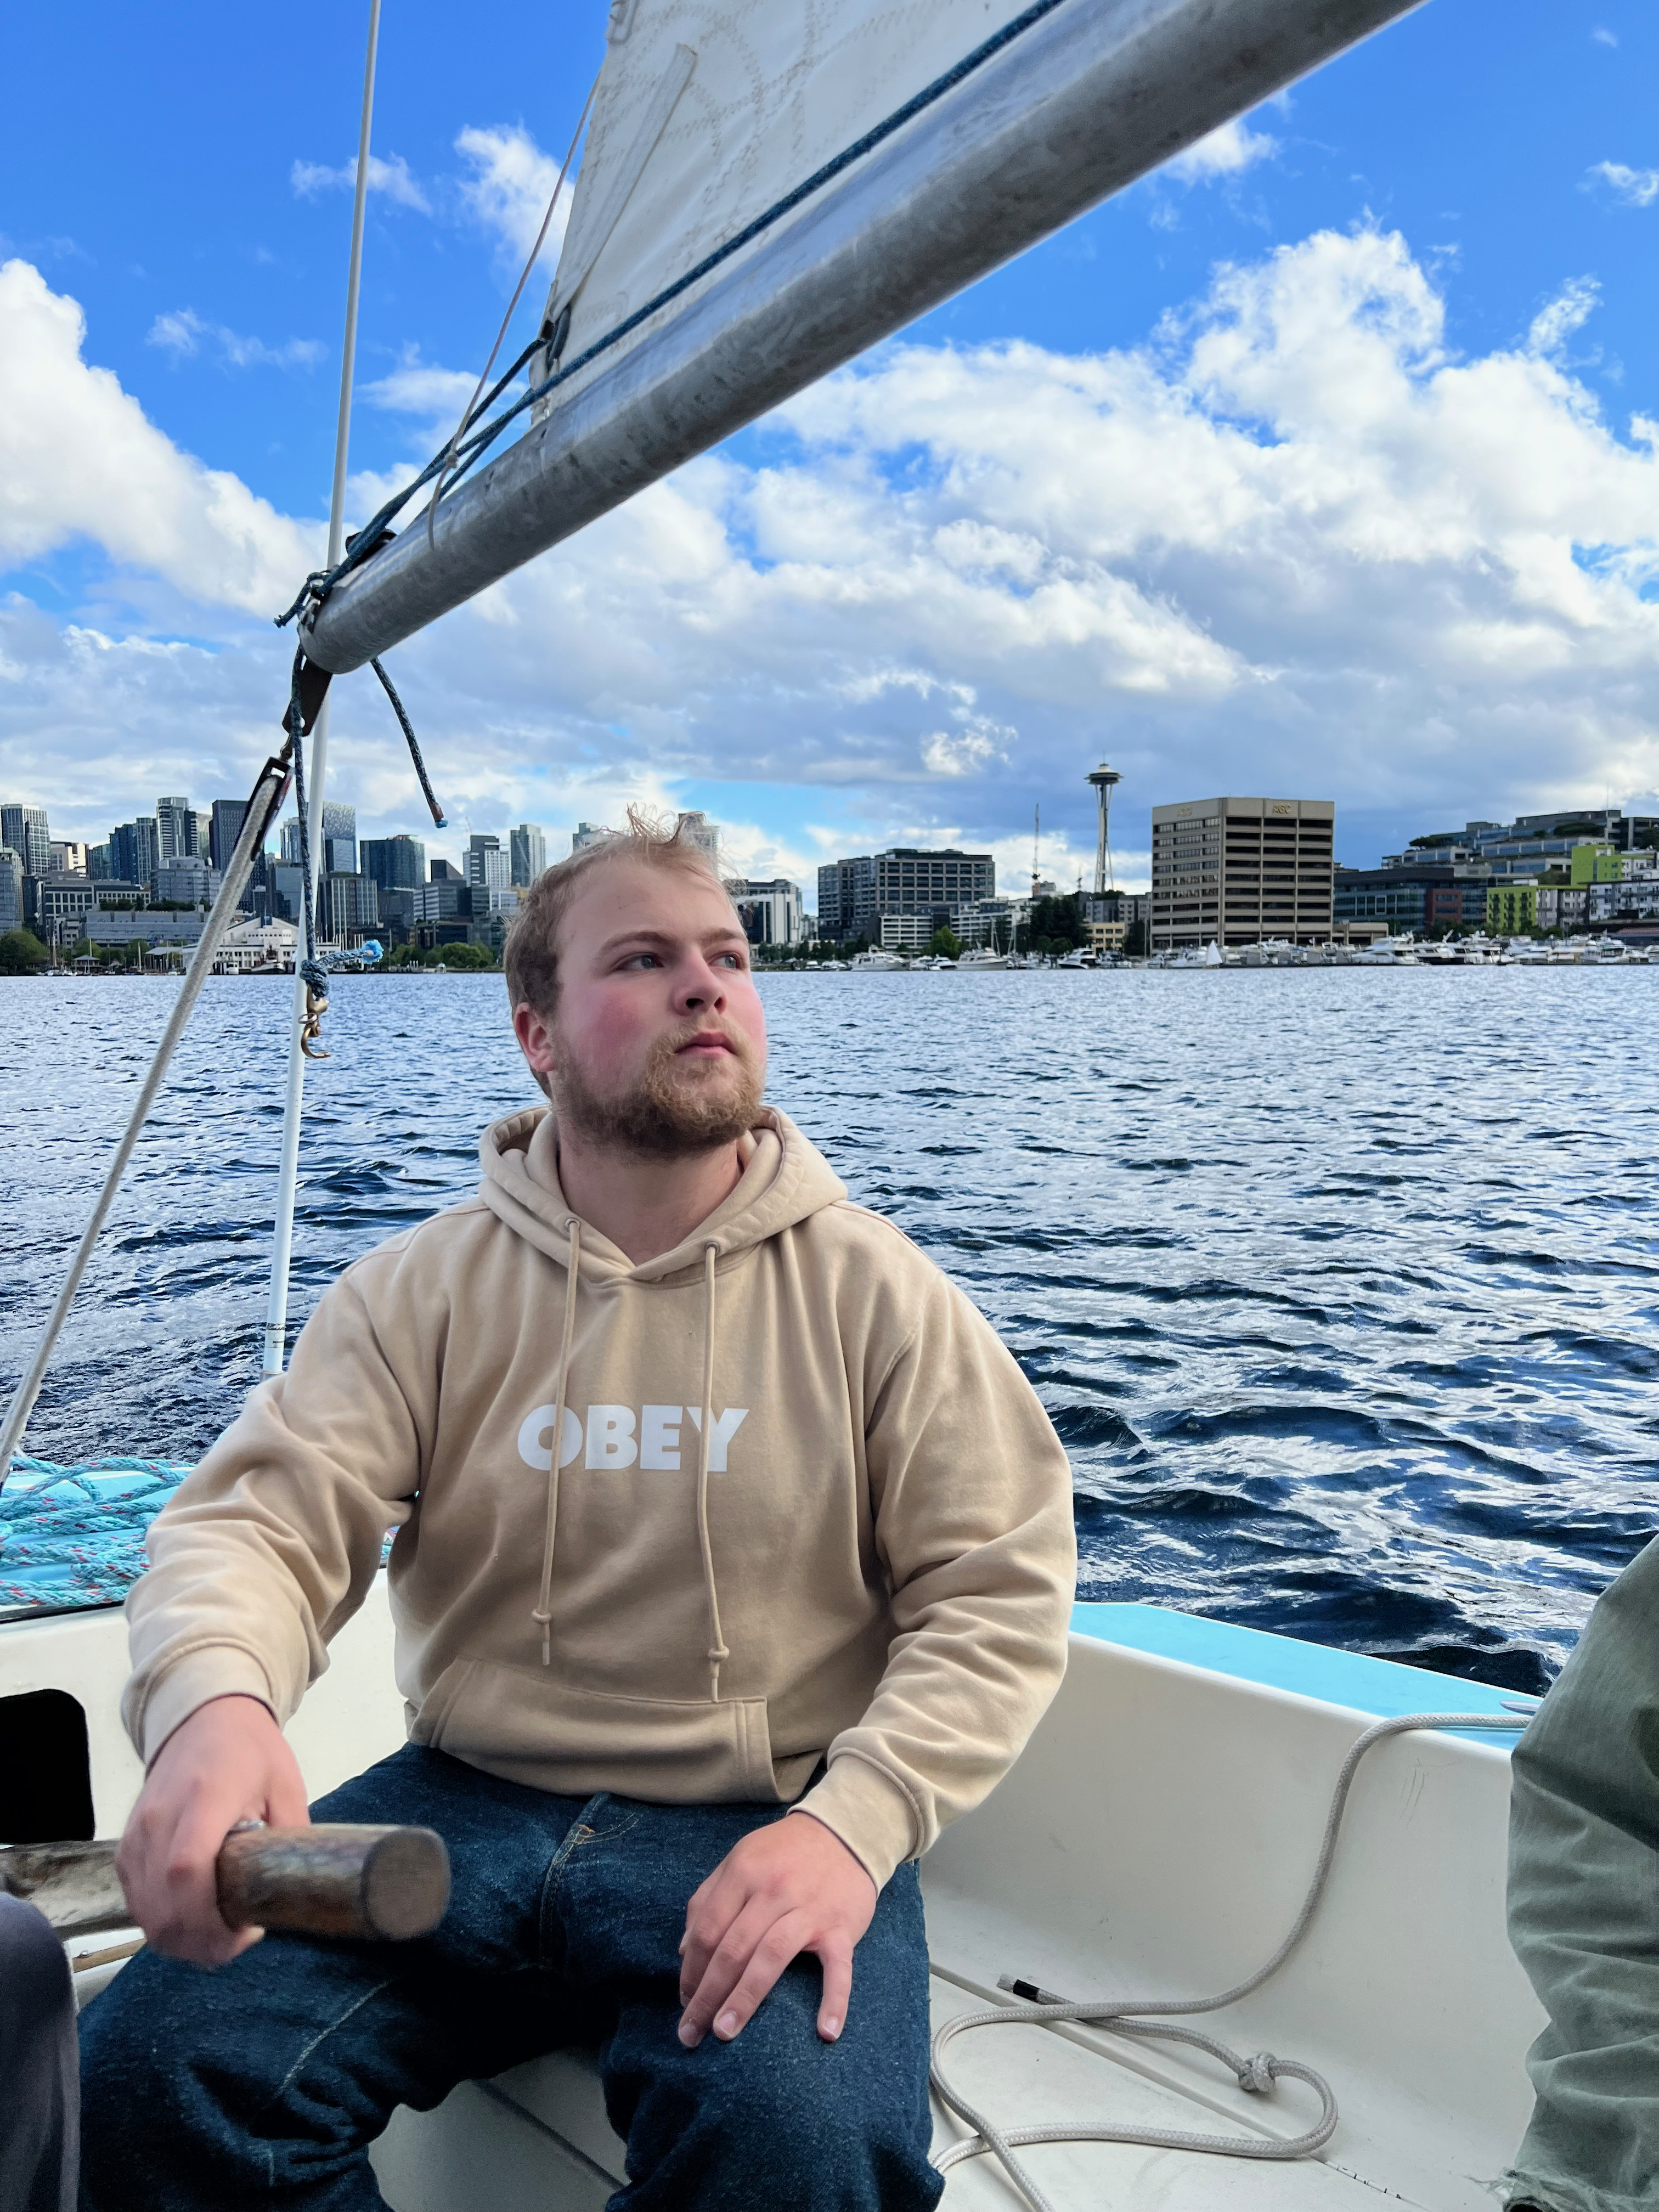
Ariadne - Building a Dinghy in my kitchen
It’s coming up on the one year anniversary of building my Eastport Pram dinghy, Ariadne.
I’ve wanted to do a post on it for a while. Share the process of building the thing, lessons learned, all that jazz.
Let’s talk a bit about motivations. I remember distinctly sitting in my apartment’s hot tub late last summer, finger hovering over the checkout button on Chesapeake Light Craft’s (CLC) website, pondering if I was insane for wanting to build the thing in my 650 sq-ft apartment. Bottom line, I was.
I started the build on September 21st, 2023, and finished on December 23rd, 2023. 93 days elapsed.
This post is mostly just to jot down some lessons I learned, and share the build photos. It’s not an instruction manual. If you want one of those, buy it from CLC, it’s well worth the money.
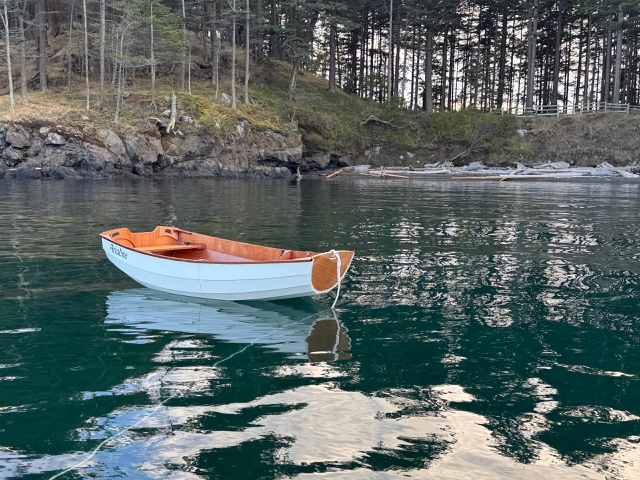
Ariadne, floating off the East Bay of James Island, during my 2024 San Juan trip.
The above photo was remarkably close to the vision I had in my head in that hot tub.
I had just that summer bought my first command, a 1968 Coronado 25, which I christened Theseus.
As a child, my grandpa had taken us on two trips to the San Juan islands. My mother grew up Island hopping in the summers. Frankly, it’s one of those trips you don’t really realize how great it was for a decade or so. (In my defense I was 11.)
Deciding which Dinghy to build.
CLC has many great plans/kits on their website. When I first found the site, I was hooked, and probably spent a good 10 hours looking at every photo of every design. I had the pleasure of seeing the CLC tent at the Port Townsend Wooden Boat festival on my way back from my San Juan Trip this summer.
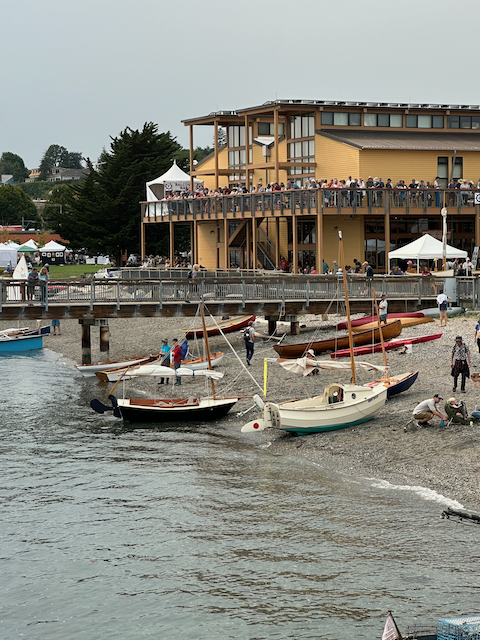
You can make out Ariadne in the background here. This was the beach by the NW Maritime Center.
I was considering a few CLC designs before I settled on the Eastport Nesting Pram.
- Tenderly Dinghy: A great 10ft Dinghy.
- Eastport Pram: The solid hulled version of what I built.
- Eastport Nesting Pram: Ariadne’s design! Take apart version of the Eastport Pram
- Passagemaker Take-Apart: A larger version of an Eastport Pram. It felt a little “stretched” for my taste, and would not fit on Theseus’s foredeck.
Let’s talk a bit about requirements…
Theseus is a 25ft Sloop. With a raised deck, meaning the foredeck was a bit smaller than desired.
I live in Seattle, and keep Theseus on Lake Union, meaning I have both saltwater and freshwater. Also, one does not build a wooden dinghy because they don’t mind if the bottom of the hull gets dirty.
So, I wanted the dinghy to look nice, and I didn’t want to have to put anti-fouling paint on it. So that means it can’t live in the water 24/7. Which means realistically, it needs to fit on the foredeck.
Secondly, at the time of writing, I’m single, without kids. So I didn’t need an aquatic mini-van. Just enough for myself and another, plus groceries and maybe a dog.
Thirdly, probably most importantly, I would be building this in the kitchen of my downtown apartment… on the 19th floor. It needed to fit in out the door and in the elevator.
So for all of the reasons above, I settled on the Eastport Nesting Pram.
Kitchen Nightmares.
I live alone. If I did not, I would shortly after starting this project, as any roommates would’ve probably forced me out, or left of their own accord.
I had to go pick up the boat kit from a warehouse in Kent. For whatever reason, the freight company was delaying my delivery for 2 weeks. I called them and said I’d pick it up myself.
We are very spoiled by Amazon. Picking up freight is a pain in the ass. I was lucky to fit the 9ft long box in the back of my father’s Toyota 4 runner. It almost didn’t fit.
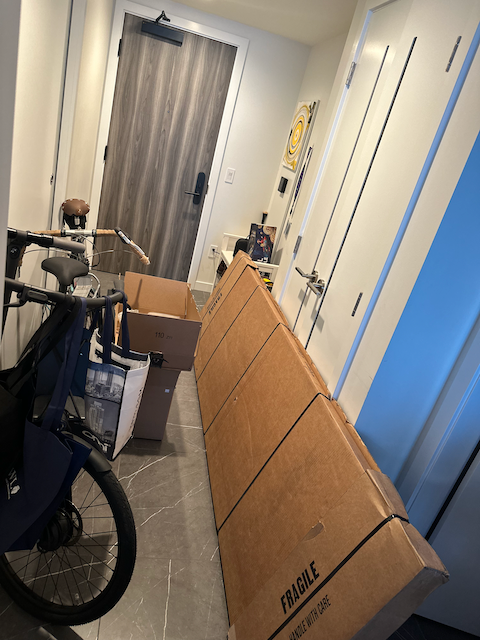
The box took up my entire hallway… I was nervous, but excited.
Let’s get into it…
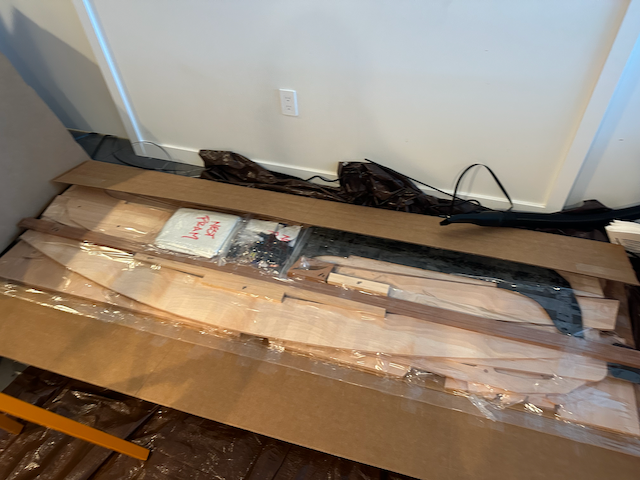
The CLC kit, came with a very detailed instruction manual, CLC suggests reading it front to back, twice, before starting. I did just that, and highly recommend it. First off, seeing how much progress you’ll make is very exciting, a bit daunting, but exciting. Also, once you get a feel for how the project will go, you’ll kinda be able to get into a flow state, without having to refer back to the book as much.
Transoms.
The first step is to glue up your Bow and Stern transom, and the bulkhead.
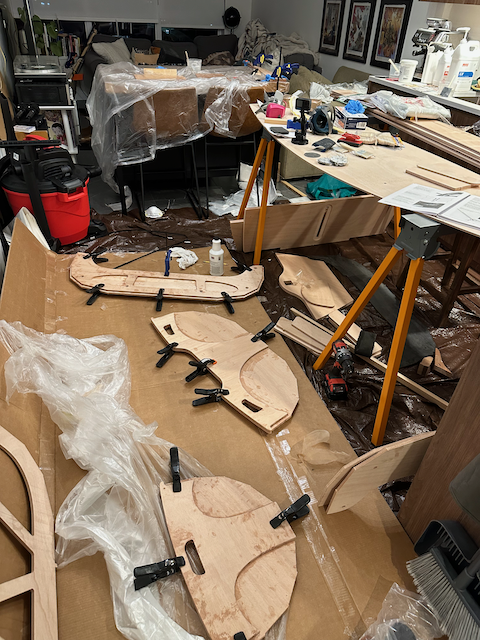
Take care when gluing up the bulkhead, you have to do it with the bolts in, and it’s easy to get epoxy on the threads. I think I held the thing horizontally while trying to get all the bolts through the other side and screwed on. Please use your brain, and lay it down flat, tightening the bolts will make sure they are aligned straight, and gravity will help with the epoxy mess.
Stitch ‘n Glue.
While these are curing, you can get started on stitching the first few planks.
If this is your first boat, like mine, you’re most likely new to terms like “stitch ‘n glue”. Simply put, it means you’ll tie the planks together using thick copper wire, before “tack-welding” it into one piece with epoxy. The CLC kits are nice, and the holes are pre-drilled and exceptionally well lined up.
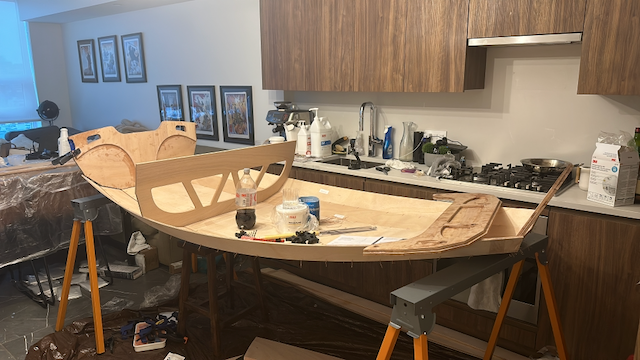
Once the transoms are cured. You can finish stitching the boat:
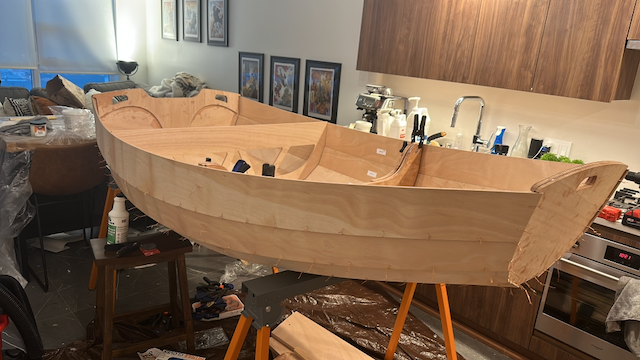
Glass.
Once the boat is stitched, and glued. You’ll reinforce some of the panels with fiberglass, the bottom panel is reinforced both sides, and first panels are reinforced on the inside.
Laying glass, installing the skeg and skids, flipping the boat, and sawing it were the only parts that really needed a second hand. I almost entirely built the boat solo.
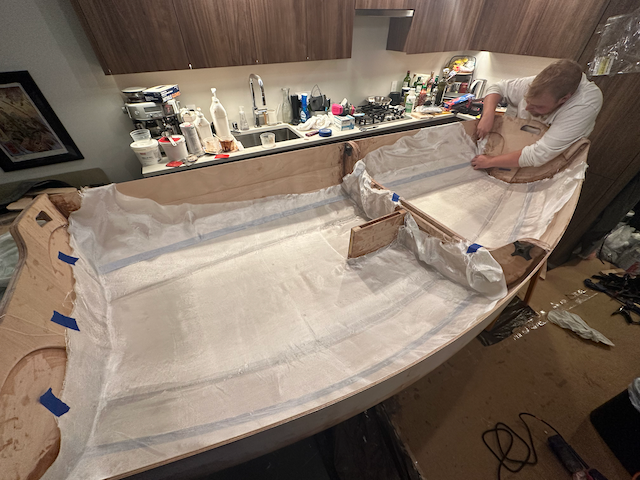
This is the glass getting laid out, before it’s wet.
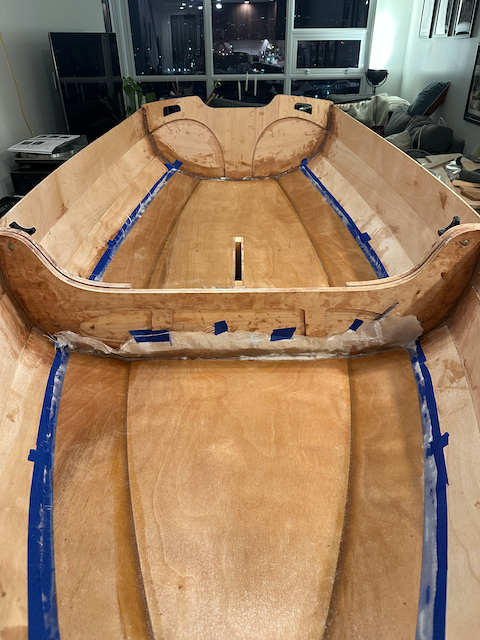
Inside glass, cut to size and curing.
Rails & Knees.
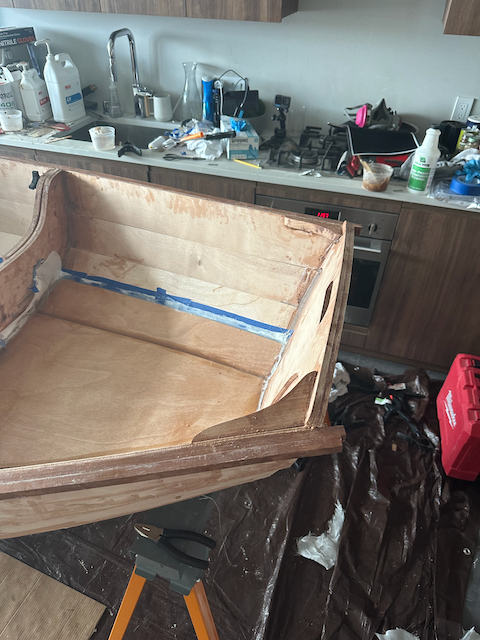
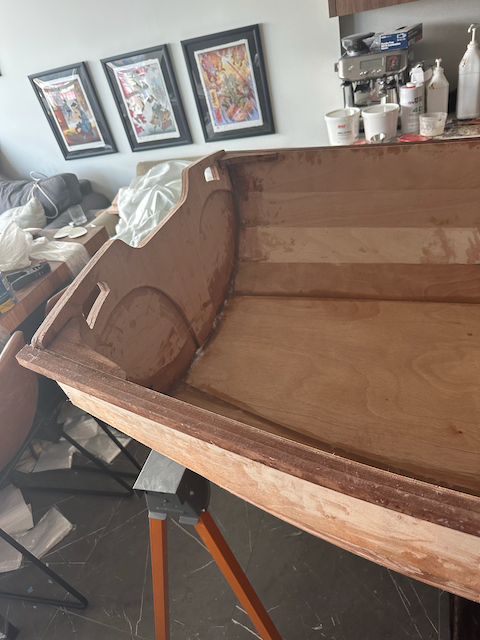
Next up was installing the rub rails and knees. These add a surprising amount of strength to the boat. You will need a lot of clamps. A second hand might help here with aligning the wetted epoxied rails. I’d probably recommend a fillet here too, not for strength, but because getting paint on the rail is kinda annoying, and a rounded edge will help you keep it cleaner with tape.
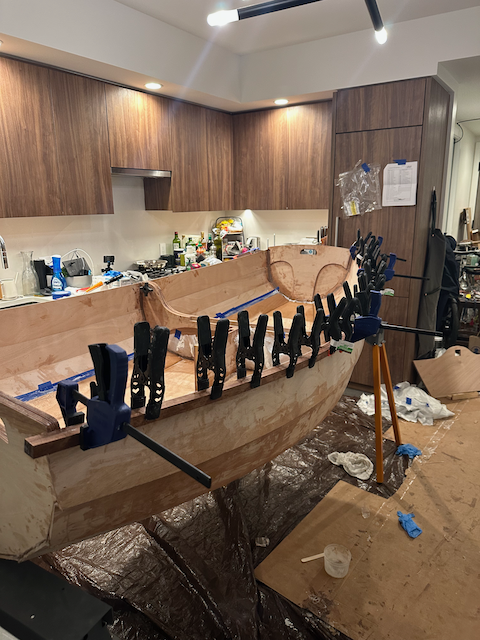
Clamps for days.
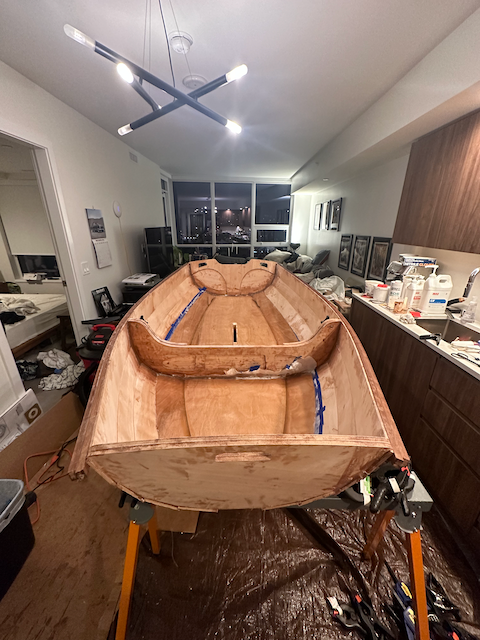
The knees are pretty straightforward. I just happen to have photos of them.
Skeg & Skids.
Next up is install the skegs and the skids. I highly recommend finding a helper to hold down the skids while you drive screws from below.
I saw online someone had cut a handle into the skeg. If I had a router I may have given this a try too.
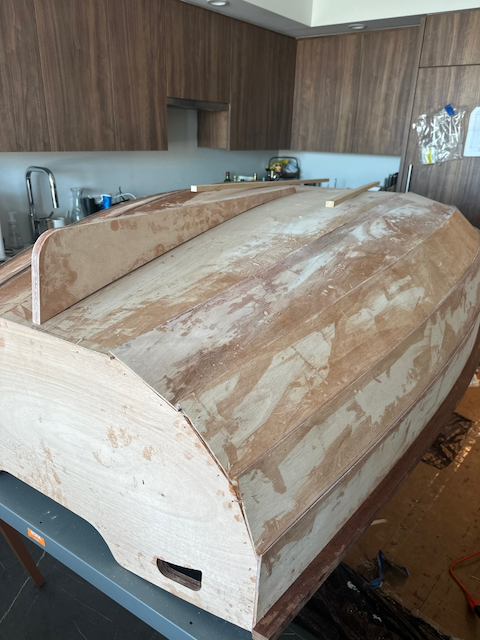
Skeg and Skids laying on the hull.
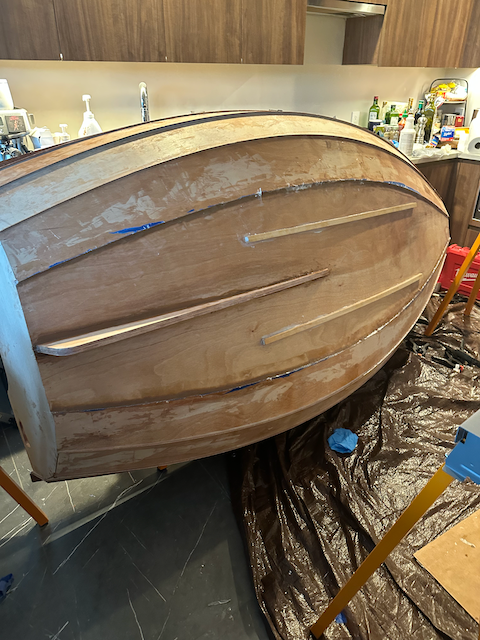
After screwing and filleting the Skeg and Skids.
Seats.
Now it’s time to install the seats. Here we end up mocking up the layout with tape, and then doing another “tack weld” for the seat supports. Then we fiberglass them to make them structural.
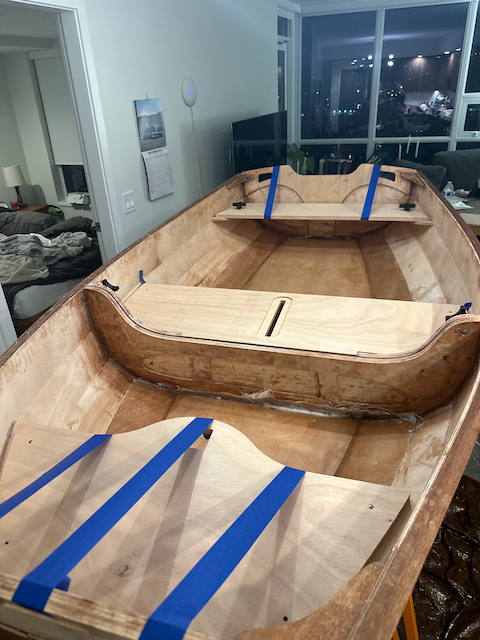
Seat positions mocked up with tape.
Once they’re in, you have a few nice level surfaces. I’d recommend using it as a bar before this next part.
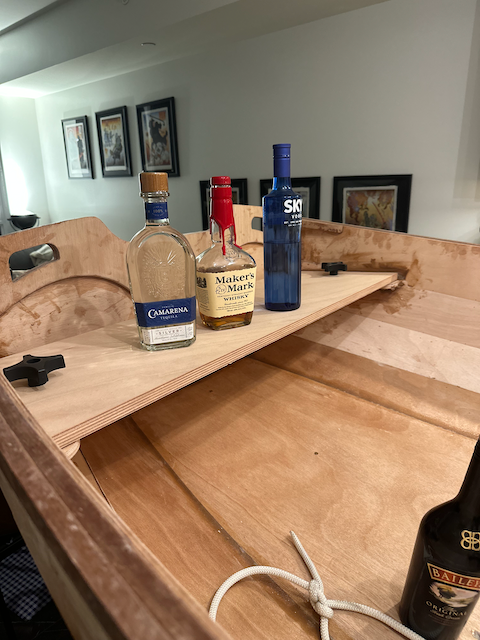
Have a drink, the next part is nerve racking.
Houdini Act.
So at this point we have a beautiful boat.
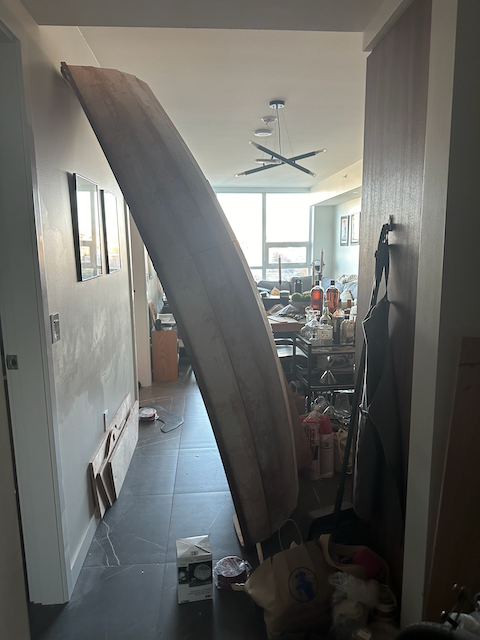
But before we can finish it, we’re gonna saw it in half.
… Get a big saw.
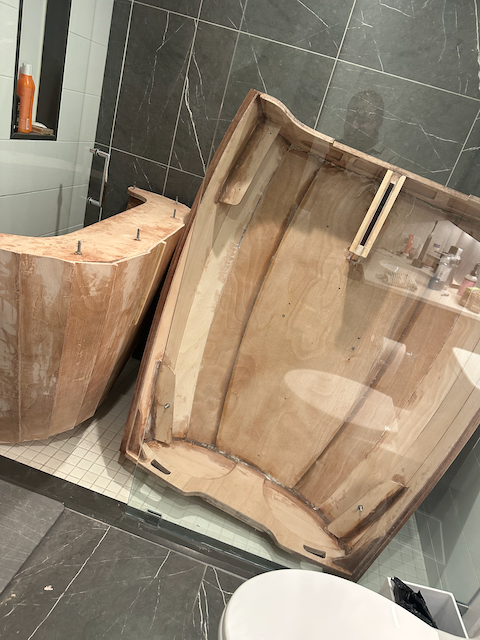
Good news, once you’re done, the boat is much easier to tuck away when you have guests…
Sealing it all.
Now it’s time to seal the boat with epoxy, make it all waterproof. First you’ll have to sand it all to make sure the epoxy gets a nice grip. Be careful not to over-sand like I did. The veneer is very thin.
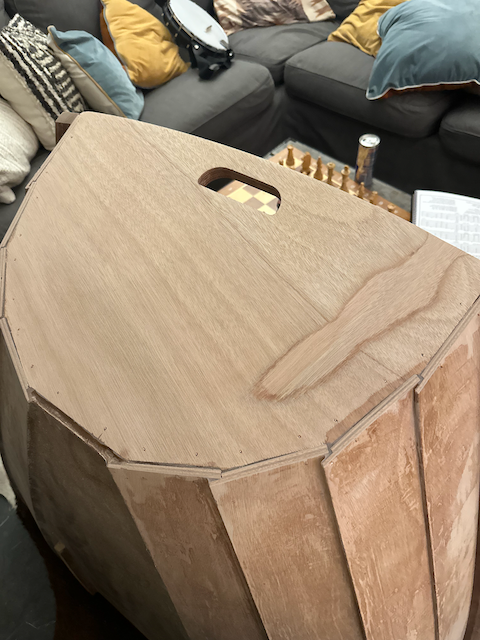
Battle scar…
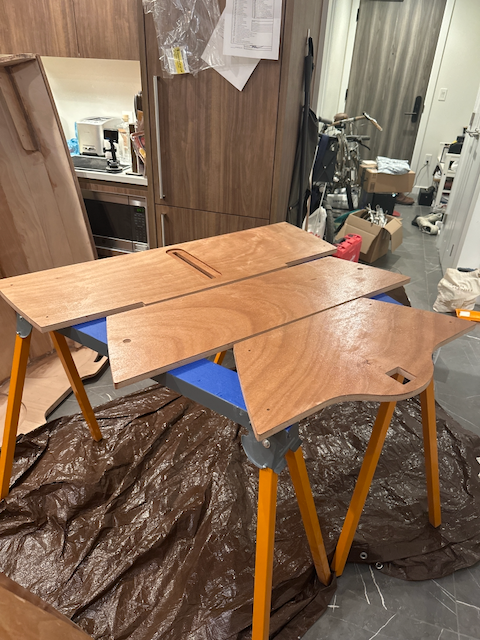
Sealed the thwarts.
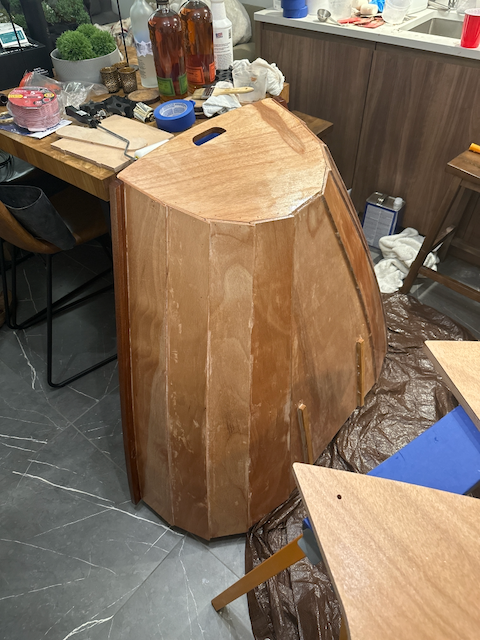
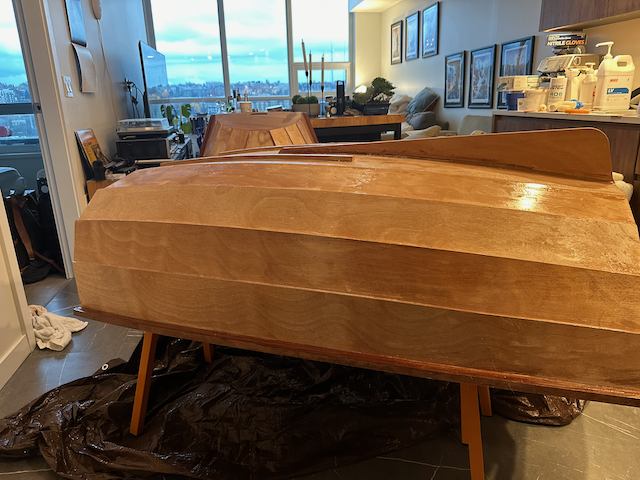
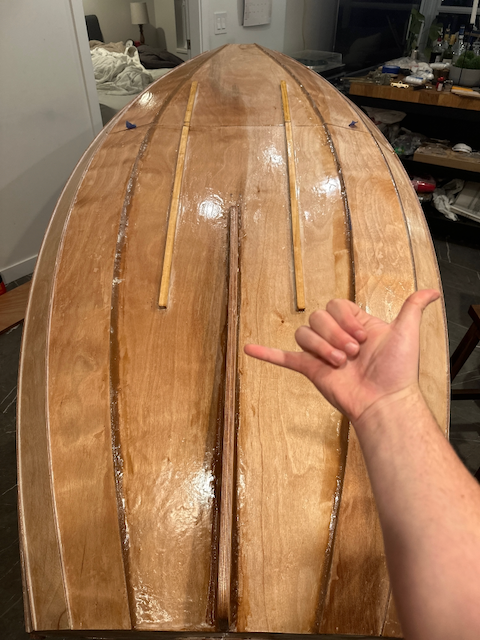
Take your time. You’ll want a couple coats, you need to get every nook and cranny… or it won’t be waterproof.
I also took some time to reinforce the seams with thickened epoxy, which gave the lapstrake look a bit nicer shape and finish.
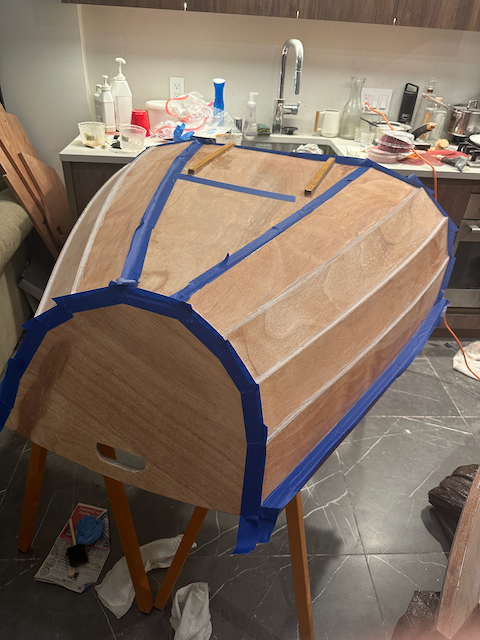
Primer.
Before we can paint and varnish. We need to prime the outside for paint.
I used Interlux Epoxy Primekote which had a nice white base.
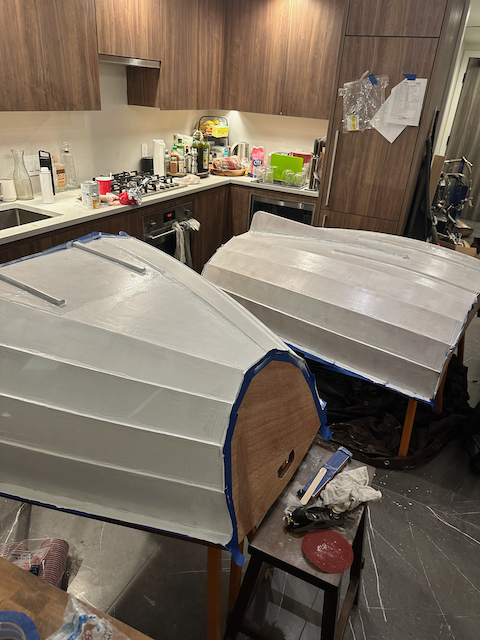
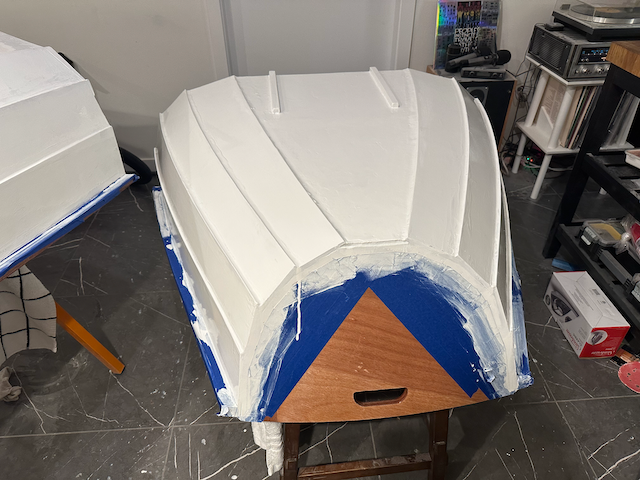
When we first roll on the primer, it’ll look a little chalky, but smooth. The point of primer is to build up gaps and divots to create a smooth surface to paint over. So shortly after we prime, we will sand it down until it’s splotchy, leaving only primer in the low spots.
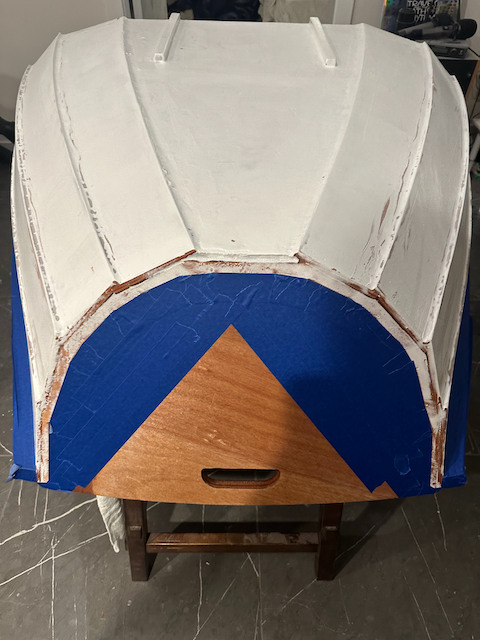
You can see it gets a little splotchy quickly. But on this boat, it was more splotchy on the rear half.
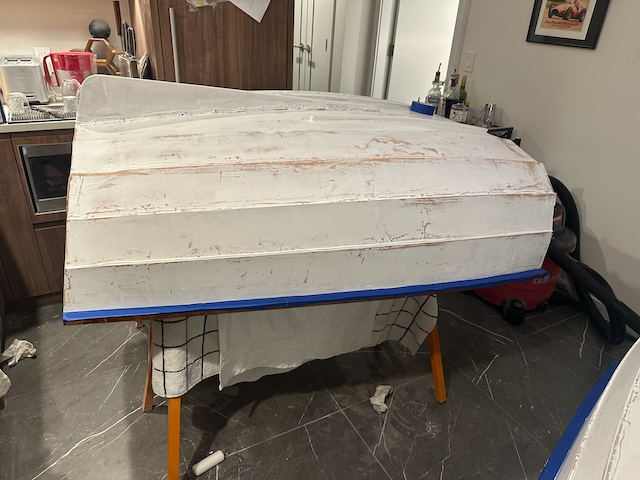
Splotchy-ness means good things are coming.
Varnish.
Next up we varnish. Varnishing first makes sure that we don’t cover any paint in varnish and change it’s color. If the varnish is dry and then we paint over it, it should just look like paint.
I used Interlux Perfection Plus. It’s a two-part varnish, a bit of a pain to mix, but looks very nice at the end. I would also use Interlux Perfection as my two-part paint.
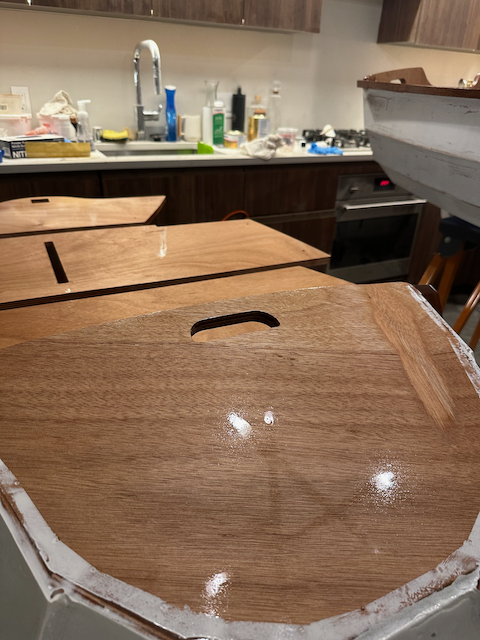
Get that nice mirror finish…
I ended up doing about 6 coats of varnish. Which was likely overkill, but the whole process was pretty therapeutic, and I wanted to get a good finish.
“Roll & Tip” is the method at hand. You use a solid, solvent proof foam roller, and then a little foam brush (with the pointy tip). First you roll on the paint, varnish, what have you, then you gently pop any bubbles with the tip of the foam brush. Be careful not to leave brush strokes, and only go one direction from back to front.
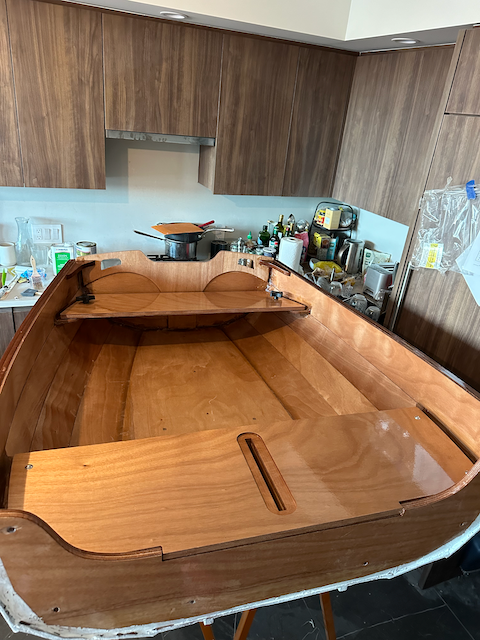
That’s a pretty looking interior…
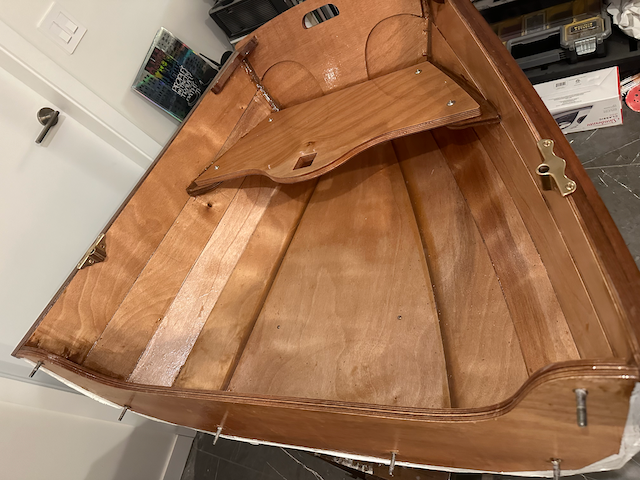
This photo is after I installed the brass oarlock sockets.
Paint.
Next up we can paint. This is very similar to the primer. Just take care to mask everything nicely. Don’t want to paint over the varnish (but it’s better than varnishing over paint if you do).

The Perfection Plus will be much glossier than the primer. It’s also two-part so take care to mix well. You will also have to reduce it using Interlux Brushing Reducer 2333N. Make sure it’s not too runny, or too thick.

I did a few coats. Then I had to run to work in the morning. So I cranked up the apartment heat to help it cure.
Gasket.
Since we Houdini’d the boat in half, there was a seam that could theoretically ship water, through, the bulkhead is tall enough that it wouldn’t be an issue, but it could definitely splash through.
We install a gasket using contact cement (I used Weldwood). This should help keep water out, and in my testing it works quite well. We will see how long the contact cement lasts.
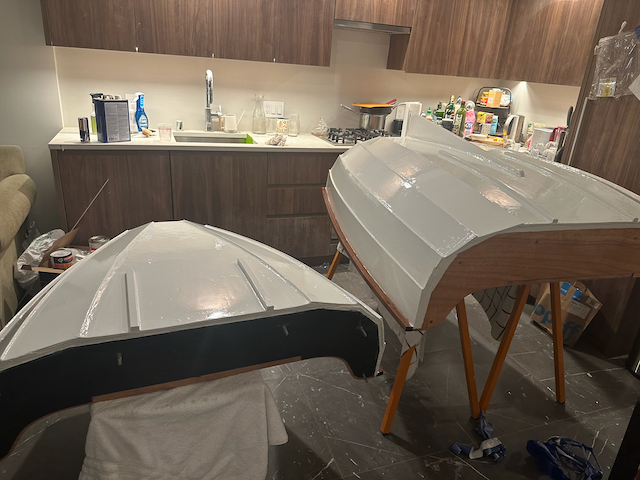
See gasket on left side (black rubber thing).
Name.
I had worked with Prism Graphics in Seattle to do the vinyl lettering on Theseus. They did a fantastic job, came out to my slip and installed the graphics for me.
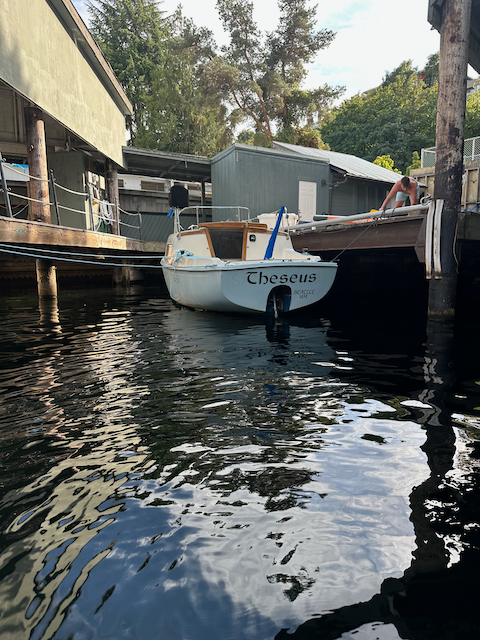
I was thrilled with how it turned out. Happy to be a repeat customer, I wanted them to match the font for Ariadne.
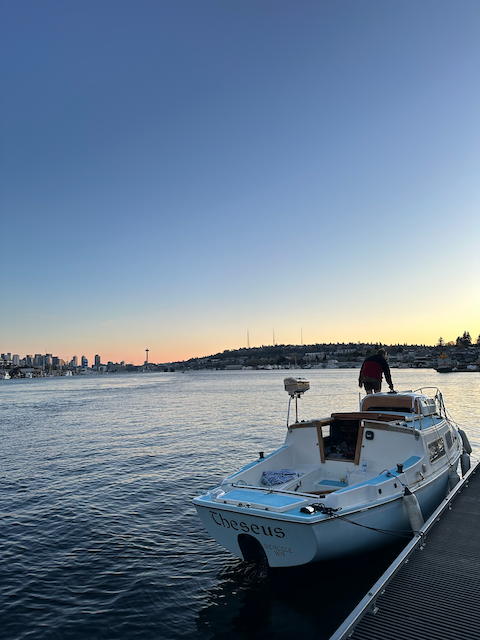
You may notice my sailboat is missing a rather important component. A story for another time…
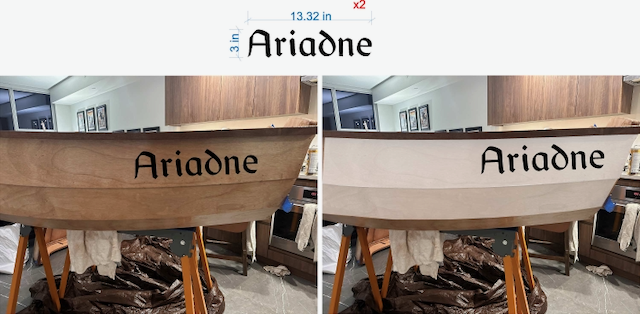
I sent over some measurements, and they helped with a mockup. I ended up installing these ones myself (I didn’t have to lean off the back of the transom to do so).
At this point, the boat was sleeping in my bed, and I on the couch. Priorities…
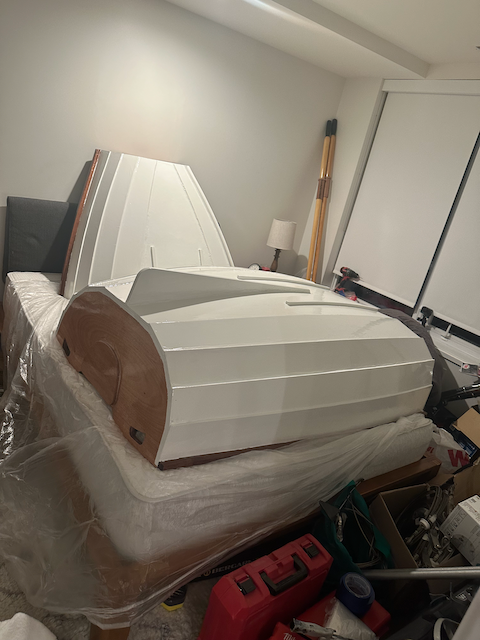
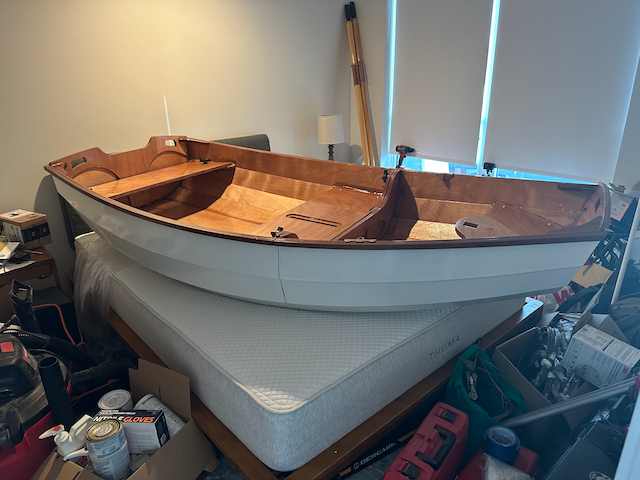
Granted I had thrown all of the materials and supplies in there with it. Reclaiming most of my living space…

I think I did a mighty fine job installing the graphics myself.
Oars & Oarlocks.
I tried to do some leather-work on the oar collars. I had a nice kit, but the rubber cement I used failed after a few weeks. It sure looked nice when I put them together.
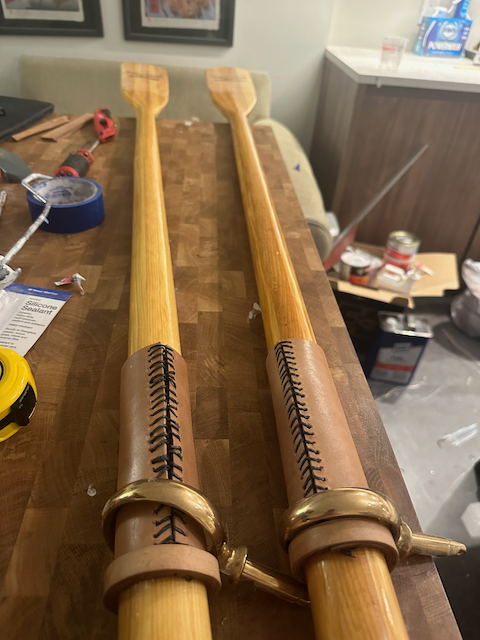
I also needed to install the brass oarlock sockets and oarlocks.
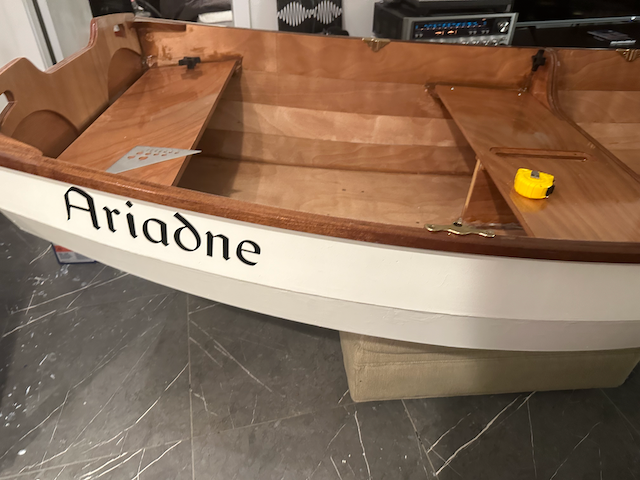
We have a forward and rear rowing station for when you have a passenger versus are solo.
A little bit of silicon caulk, and we were done!
Launch!
And just like that, we had a finished boat… taking up most of my living room.
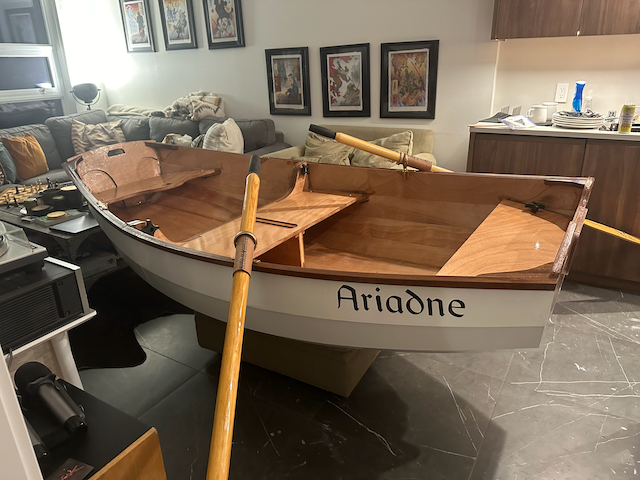
For a kitchen boat, I say she looks pretty good.
Now for the fun part. Launch day!
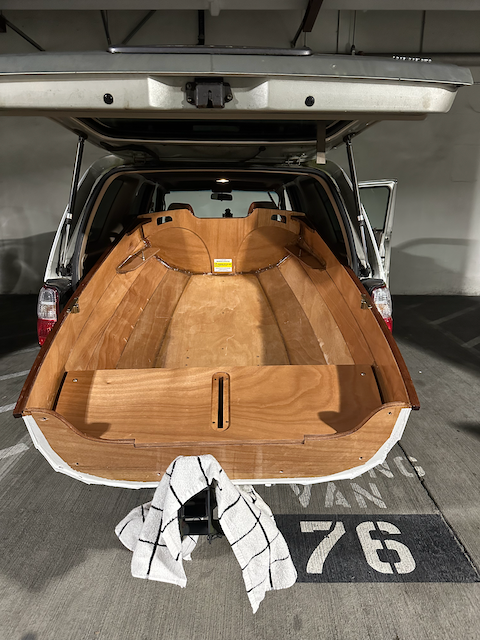
Or… not quite. The trusty four runner which carried the kit, didn’t fit the finished product.
Luckily for me, my neighbor was kind enough to let me borrow his truck.
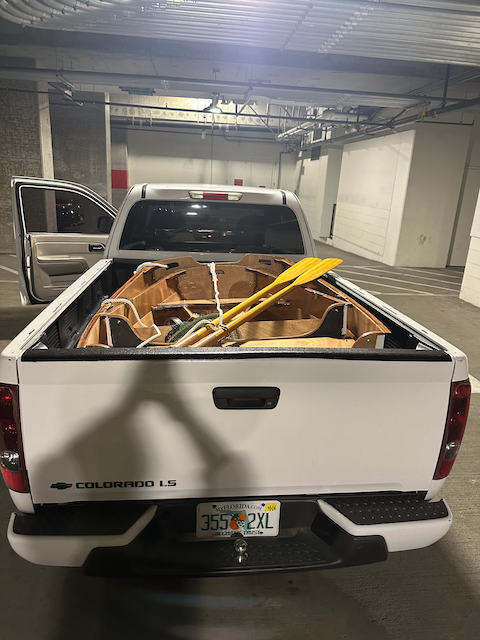
Funny enough, I now own said truck. He got his Fiancé a Tesla. I say I got the better end of that deal.
And… She floats!
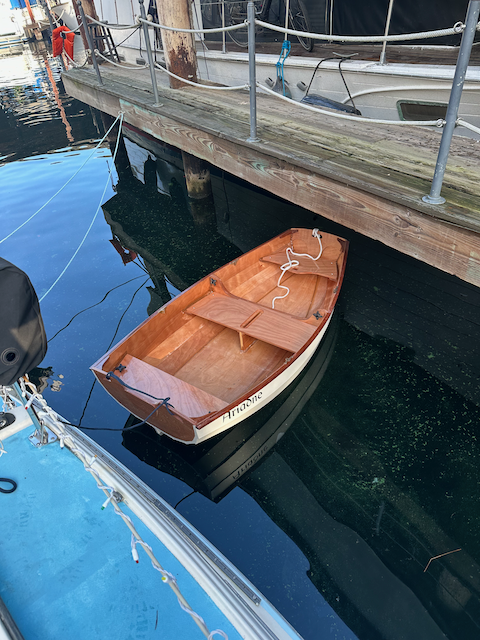

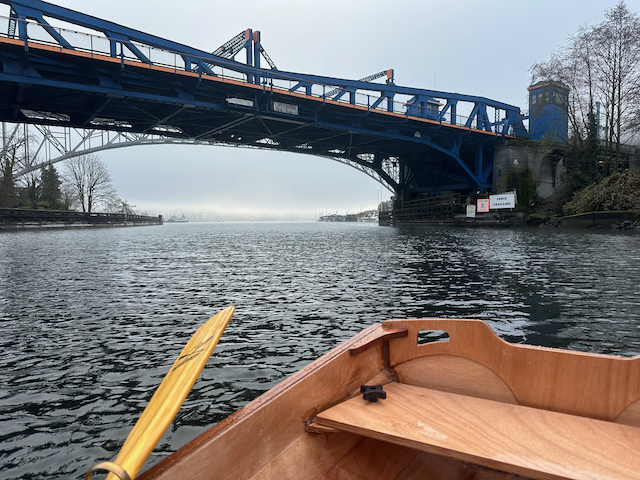
Fremont Bridge
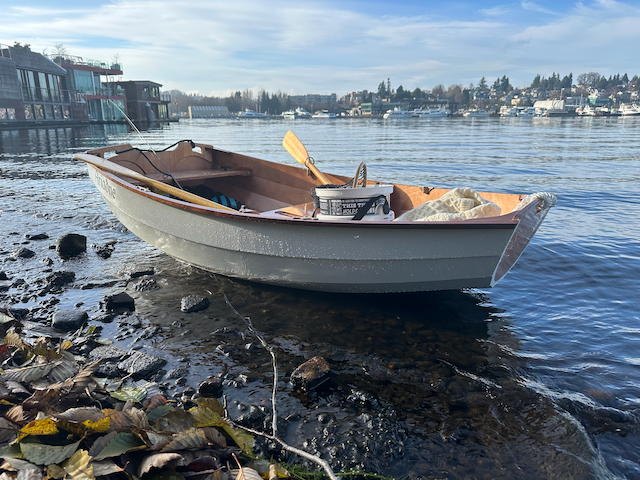
Took a little fishing trip. Didn’t catch anything, but had a blast.
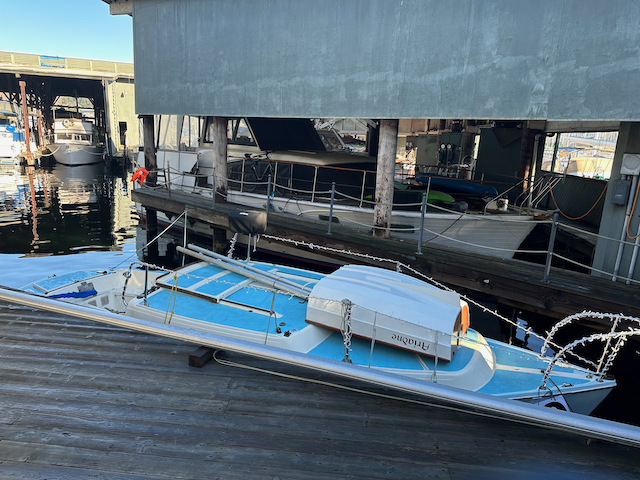
And as we’d hoped, she fits nicely on the foredeck of Theseus.
Conclusion.
So I built a boat in my kitchen. Would I recommend it? Yeah, do a kitchen boat, once… I would like a shop next, because my next project will hopefully be much bigger.
It was a rewarding project, I’d never built a boat before, and having it invade your living space is a pretty good motivator to continue working on it.

Me aboard Ariadne, checking a crab pot in West Sound, Orcas Island.
Bonus: Dinghy Pictures from the San Juan Islands.
And for your viewing pleasure, below are the photos of Ariadne during my most recent San Juan trip (2024).
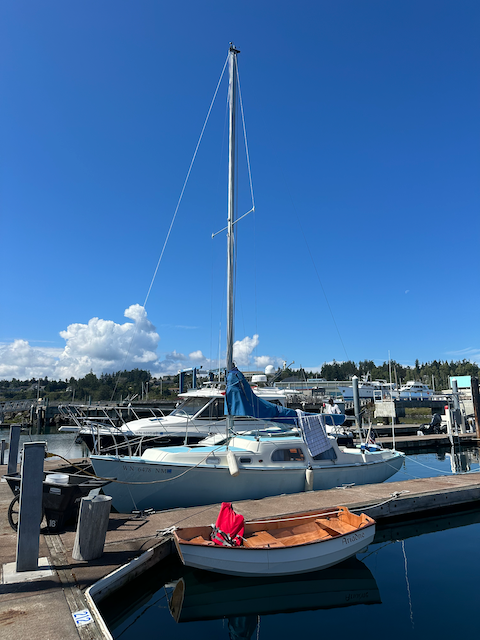
Deploying Ariadne at Boathaven Marina, Port Townsend.
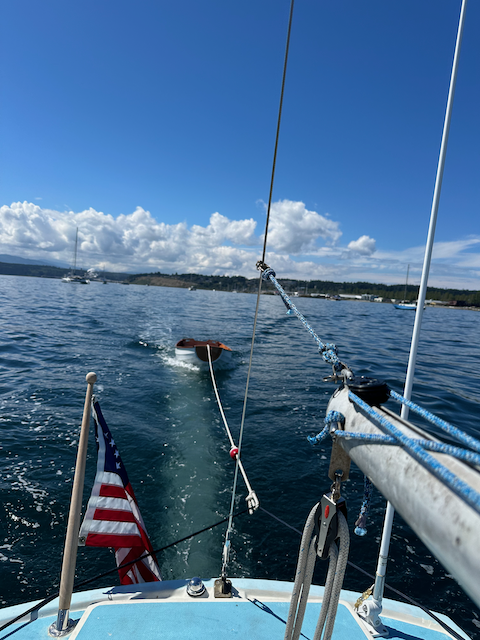
Leaving Port Townsend, Ariadne in tow.
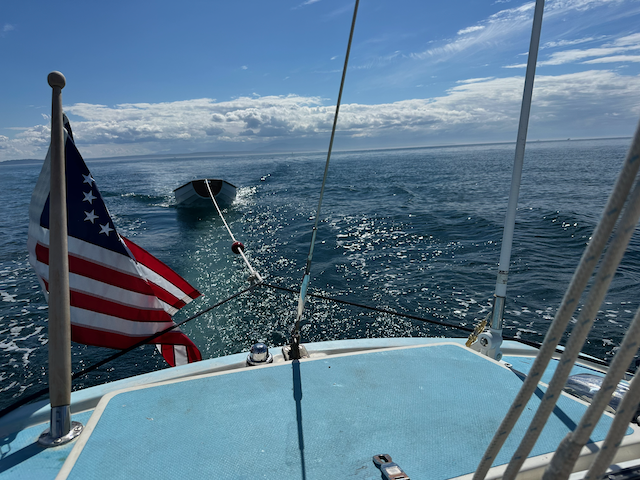
Northbound, across the Strait of Juan de Fuca.
First stop, ashore on James Island (East Bay).
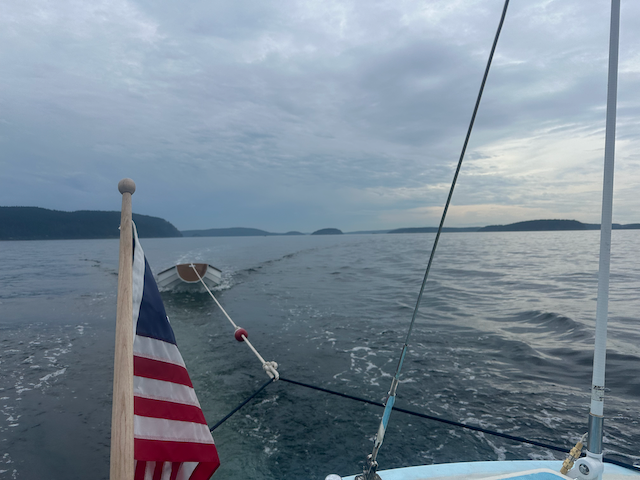
Ariadne in tow to Rosario Resort, Orcas Island.
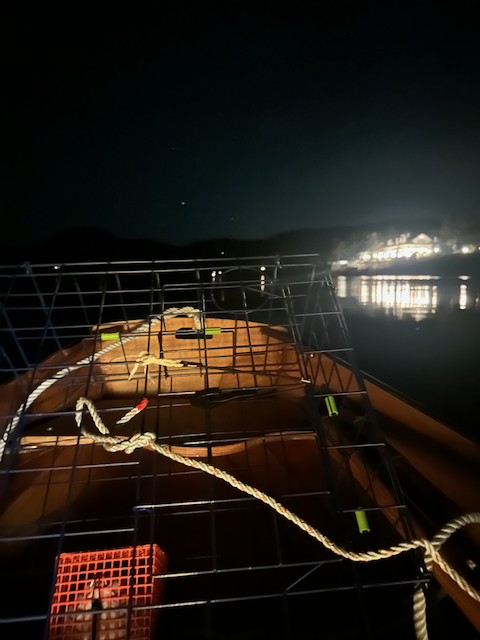
Deploying the crabpot at midnight.
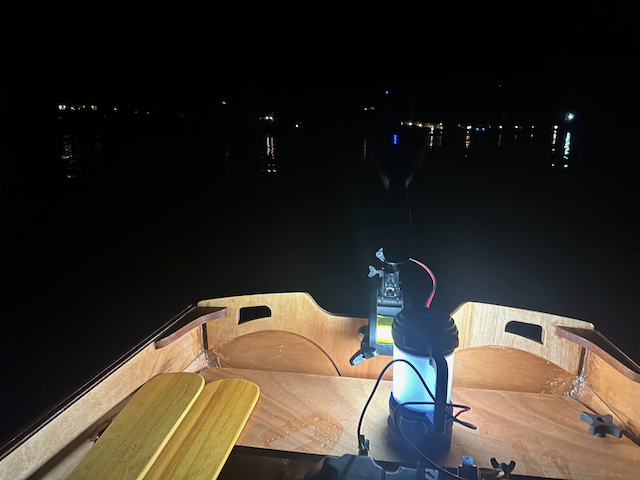
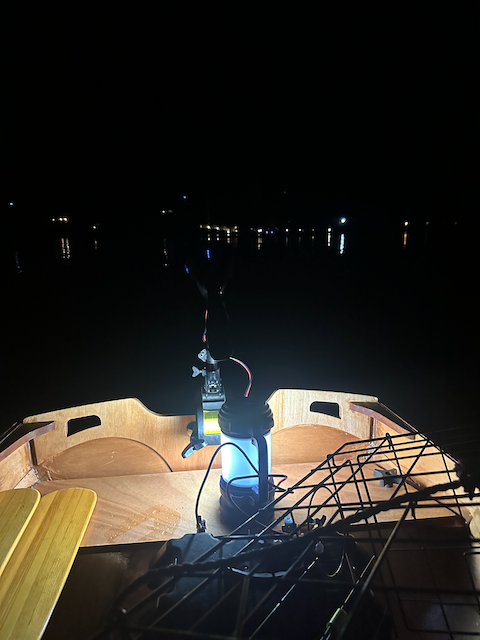
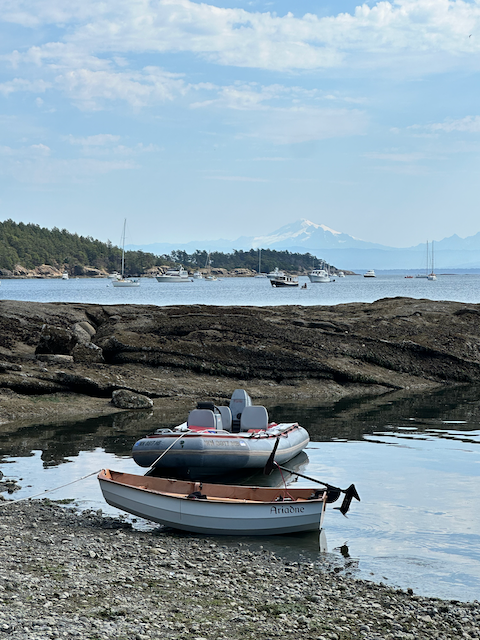
Ashore at Echo Bay, Sucia Island. With the electric motor I picked up.
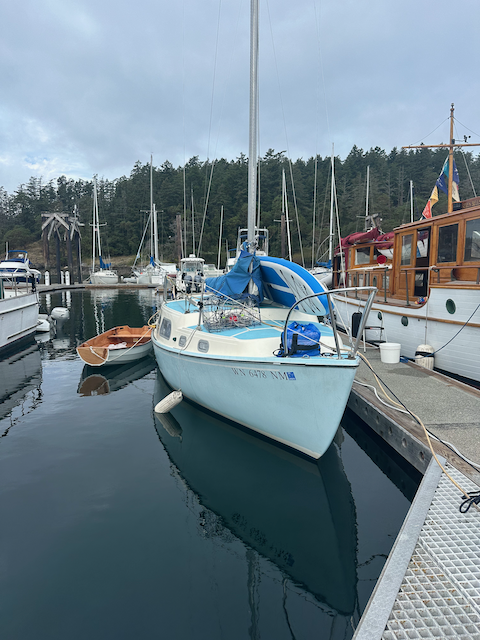
Tied up at Friday Harbor Marina.
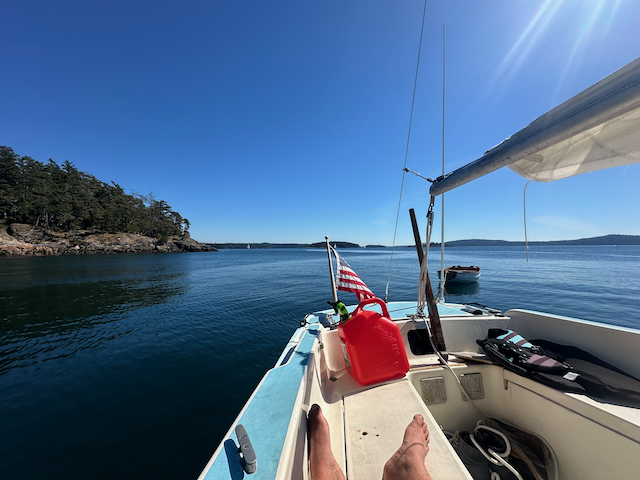
On a mooring buoy at Jones Island (south side).
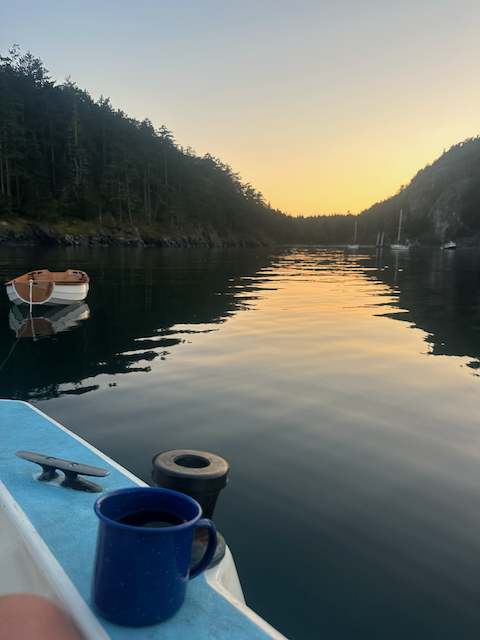
On the hook at Watmough Bay, Lopez Island.
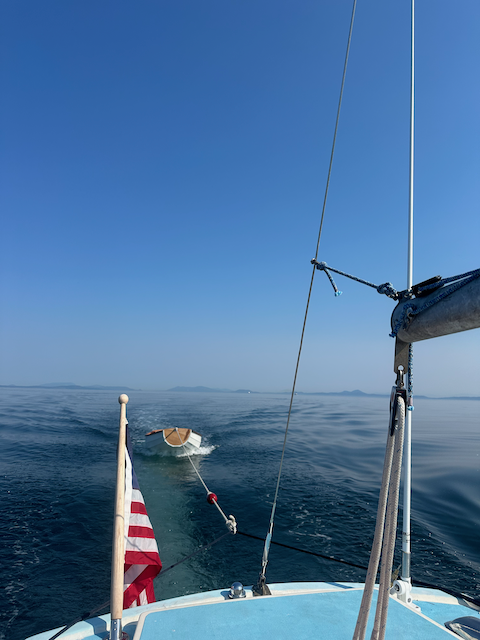
Southbound across the Strait, heading for Seattle via Pt. Townsend.
A fantastic trip. I need to do a proper write up soon.
Cheers for now!
